

06 Feb How to Master Decorative Stamping in Leather Projects
Leather stamping isn’t just about pressing designs into the surface. It’s about creating depth, texture, and patterns that bring leather to life. A simple piece of hide transforms into something rich with detail, every mark telling a story.
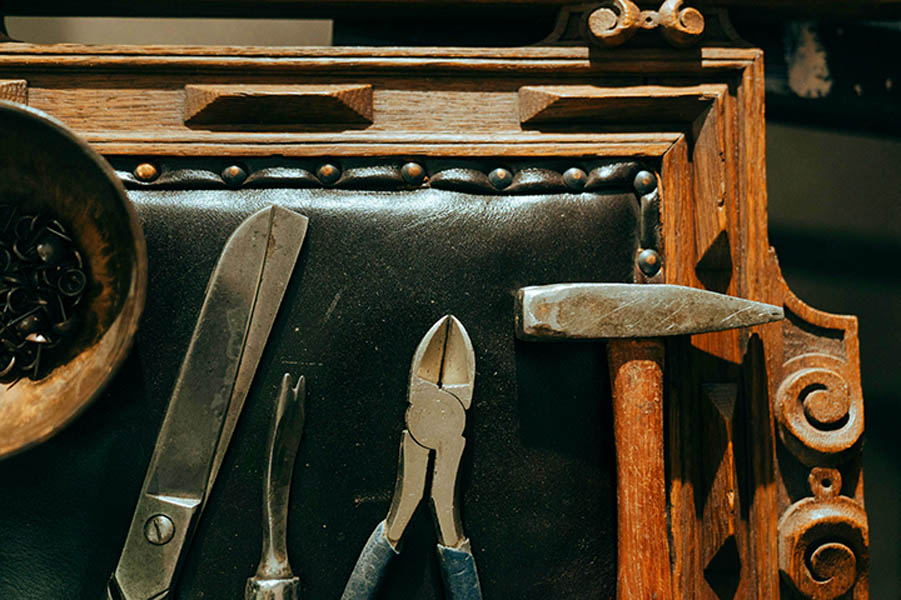
Mastering decorative stamping requires more than just the right tools—it takes patience, control, and an understanding of how leather reacts under pressure.
Choosing the Right Leather for Stamping
Not all leather is created equal. Some take impressions beautifully, while others resist no matter how much force you apply.
- Vegetable-tanned leather is the best choice. It’s firm, absorbs moisture well, and holds impressions clearly.
- Chrome-tanned leather, on the other hand, doesn’t take stamping well. The surface is too soft, making impressions fade quickly.
- Thickness matters. Too thin, and the stamp might press all the way through. Too thick, and you’ll struggle to get a deep, crisp design.
The leather itself sets the foundation for a great stamped design.
Prepping the Surface for a Perfect Impression
Leather is tough. Trying to stamp dry leather is like pressing into stone—you won’t get far. Moisture is key.
A damp sponge lightly pressed over the surface softens the fibers just enough to take an impression. The leather should feel cool to the touch but never soaked. After a few minutes, the moisture spreads evenly, creating the perfect balance for stamping.
Testing a small area first helps ensure the leather is ready. If it’s too wet, the design will stretch and blur. If it’s too dry, the impression won’t hold. Finding the sweet spot takes practice, but once you get it right, every stamp will sit cleanly in place.
Stamping Techniques That Make a Difference
Leather stamping is part pressure, part precision. A steady hand and a confident strike lead to clean, consistent impressions.
- Hold the stamp upright—any tilt creates uneven depth.
- Use a firm, controlled strike with a mallet, not a hammer.
- For complex designs, stamp in sections rather than trying to complete everything in one hit.
A light test tap helps position the stamp before committing to the final strike.
Adding Depth and Detail
Once the basic design is stamped, it can be enhanced for even greater effect.
- Layering stamps creates more intricate patterns.
- A beveling tool deepens lines, making the design stand out.
- Light shading or dye adds contrast, bringing details to life.
A good stamp alone is impressive. A finished, detailed design is unforgettable.
Practice, Patience, and the Right Tools
Decorative leather stamping is an art that gets better with experience. Every strike, every impression, every detail adds up to a piece that feels handcrafted and unique.
Take your time, experiment with techniques, and let the leather guide the process. With the right approach, stamping isn’t just decoration—it’s craftsmanship in motion.