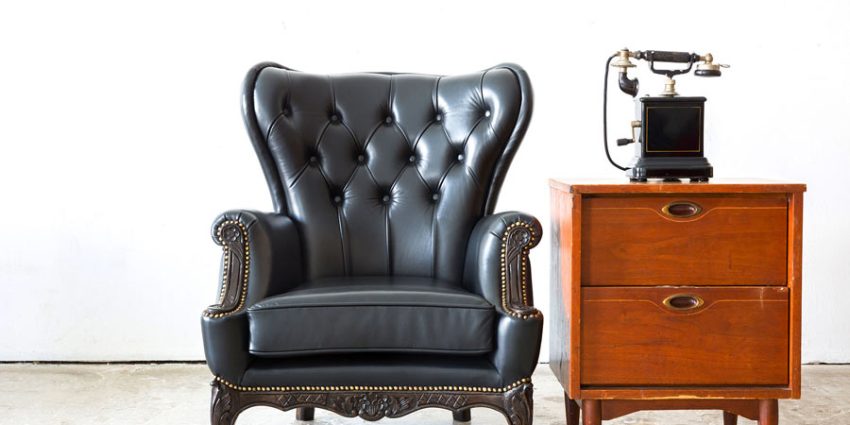
There’s something undeniably charming about vintage furniture. Maybe it’s the history, the craftsmanship, or just the idea of breathing new life into a piece with a story to tell. Restoring a vintage chair isn’t just about fixing it up—it’s about preserving a piece of history. Today, we’ll walk you through the journey of restoring a vintage chair using traditional upholstery tools from C.S. Osborne & Co., ensuring your project is both authentic and expertly done.
Assessing the Condition
First things first, you need to get a good look at what you’re dealing with. Assessing the condition of your vintage chair is crucial. Look for worn-out fabric, loose joints, and damaged upholstery. Check for signs of wood rot or insect damage, and don’t forget to test the stability of the frame. Understanding these issues upfront will help you plan your restoration process more effectively and avoid any nasty surprises down the line.
Gathering the Right Tools
Having the right tools on hand can make or break your restoration project. C.S. Osborne & Co. offers a range of essential upholstery tools that will make your job easier and more efficient. Here’s what you’ll need:
- Fabric Shears: For precise cutting of your upholstery fabric.
- Staple Removers: To carefully take out old staples without damaging the wood.
- Tack Hammers: For driving in upholstery tacks with precision.
- Webbing Stretchers: To ensure your chair’s webbing is tight and secure.
These tools are designed with quality and durability in mind, ensuring you can tackle every step of the restoration with confidence.
Stripping Down the Chair
Now comes the fun part—stripping down the chair. Remove the old upholstery fabric and padding, being careful to preserve the chair’s frame. Patience is key here. Use your staple remover to carefully pull out old staples or tacks without damaging the wood. This process can be time-consuming, but it’s essential to get back to the bare bones of the chair.
Repairing and Reinforcing
Once your chair is stripped down, it’s time to repair and reinforce it. Examine the joints and frame components for any weaknesses or damage. Use wood glue or clamps to fix any loose joints. If the springs are damaged, replace them, and make sure the webbing is taut and secure. This step ensures that your chair will be sturdy and comfortable once it’s reupholstered.
Choosing the Right Upholstery Fabric
Selecting the right fabric is a blend of art and science. You want something that complements the chair’s design and style while also being durable. Consider the texture, color, and historical accuracy of the fabric. For a truly vintage look, you might choose a fabric that reflects the era of the chair. Think about where the chair will be used and select a fabric that can withstand the expected wear and tear.
Upholstering the Chair
With your fabric chosen, it’s time to upholster the chair. This step requires precision and neatness. Start by cutting your fabric to size, allowing extra for tucking and stapling. Use your webbing stretcher to ensure a tight fit. Begin upholstering from the center and work your way out to the edges, making sure to pull the fabric taut to avoid wrinkles. Smooth corners and tight fits are essential for a professional finish.
Finishing Touches
The finishing touches can make all the difference. Consider adding decorative nails or trimmings to enhance the chair’s aesthetic appeal. If the wood needs a touch-up, refinishing can bring it back to its former glory. Attention to detail here will ensure your chair not only looks beautiful but also has a polished, professional finish.
Showcasing the Restored Chair
The transformation from a worn-out piece to a beautifully restored chair is incredibly satisfying. Once your chair is complete, take a moment to admire your work. Share your project with others—whether through social media, local community groups, or with friends and family. Your work can inspire others to take on their own restoration projects, keeping the tradition of craftsmanship alive.
Conclusion
Restoring a vintage chair is more than just a DIY project; it’s a journey through history, craftsmanship, and personal satisfaction. With the right tools from C.S. Osborne & Co., and a step-by-step approach, you can bring new life to old furniture. Not only will you have a beautiful piece to enjoy, but you’ll also be preserving a bit of history for future generations. So, grab your tools, channel your inner craftsman, and start your restoration journey today.

