


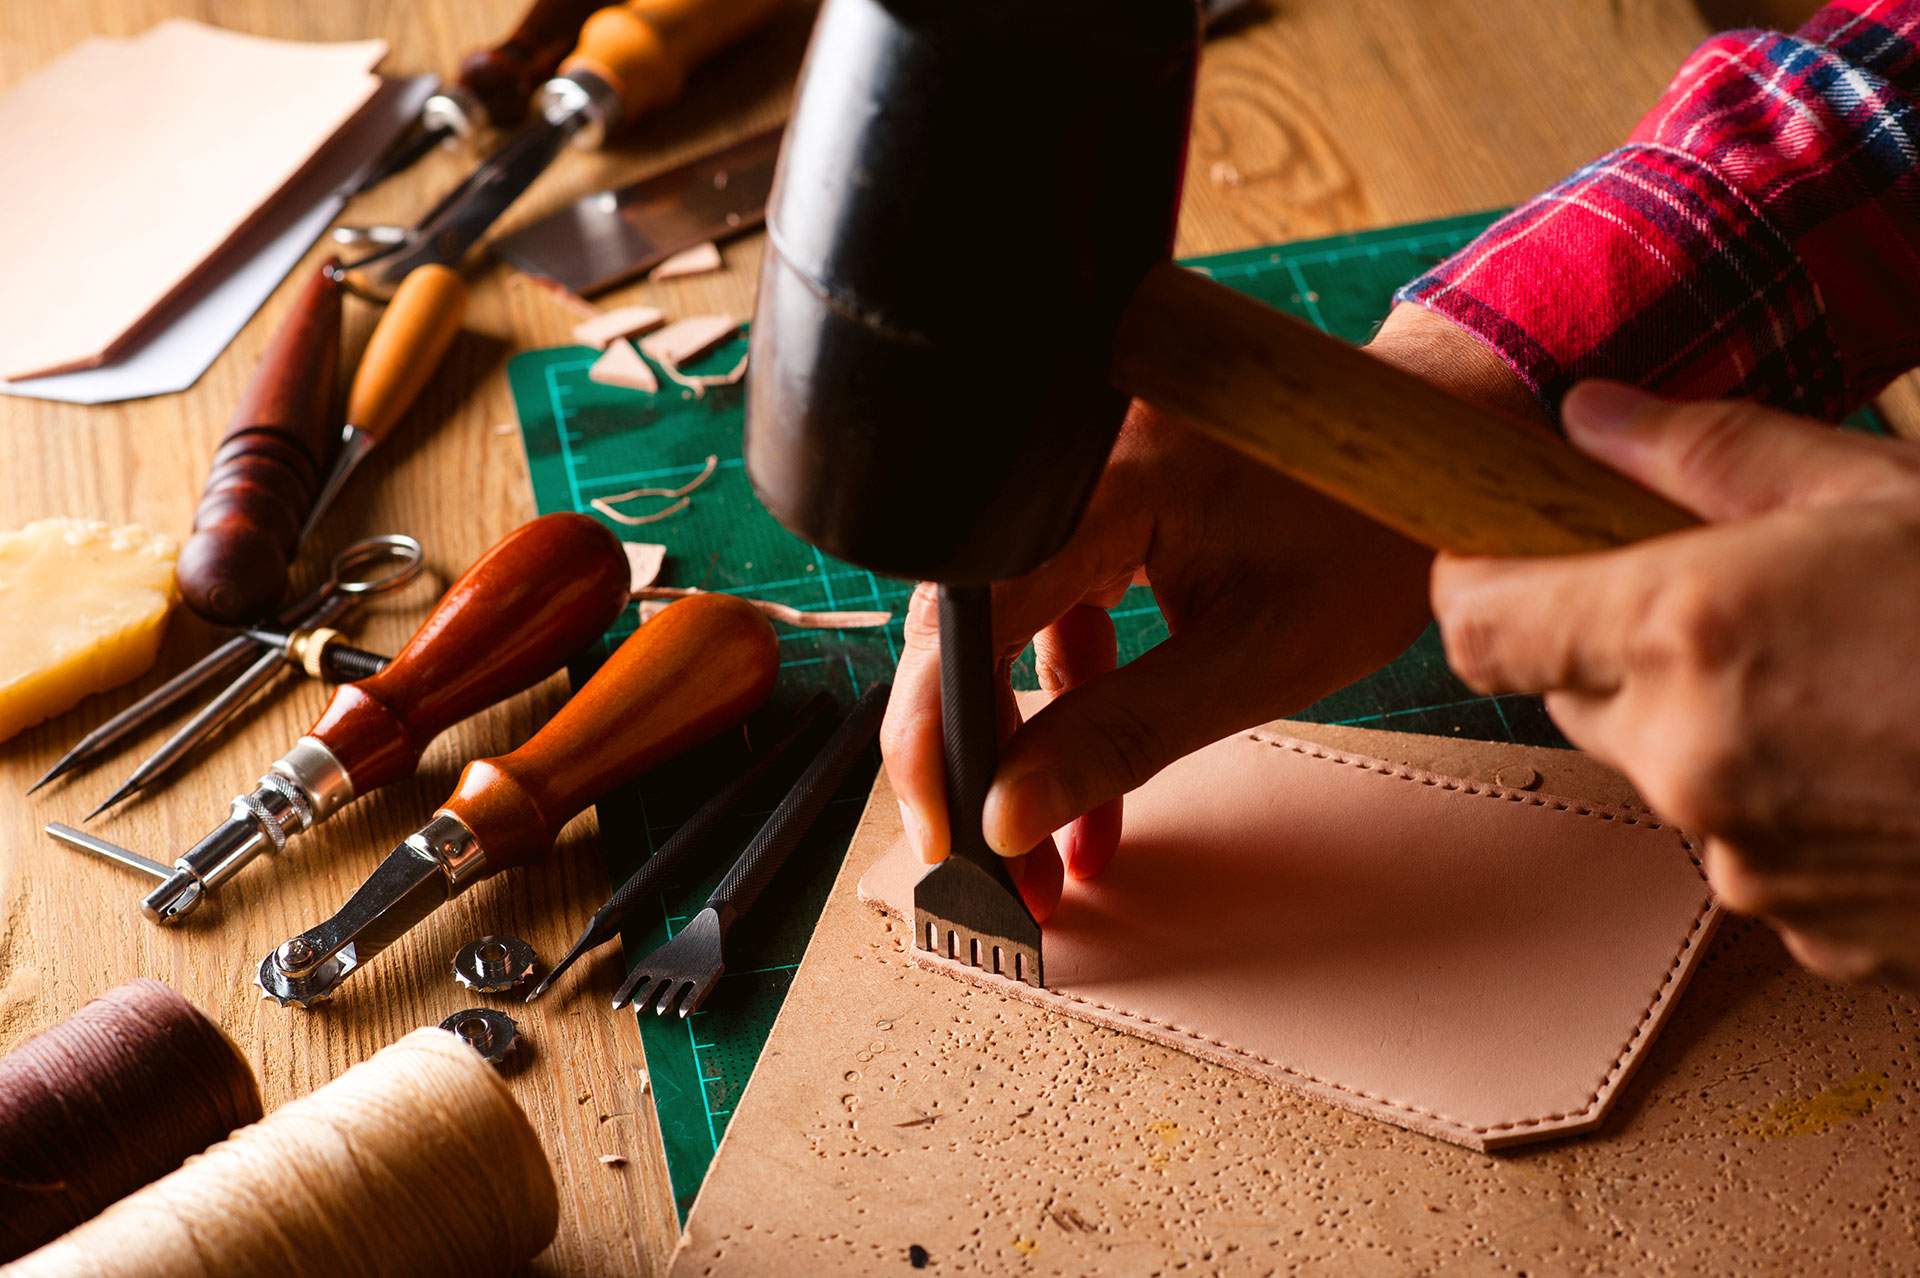
19 Jul Leather Stamping Secrets Behind Handmade Masterpieces
There’s a particular kind of magic that happens when a blank piece of leather meets a metal stamp for the first time. That dull thud of the mallet, the crisp impression left behind, the way a plain hide suddenly tells a story. If you’ve ever wondered how leatherworkers create those intricate floral patterns, geometric borders, or personalized initials on wallets and belts, you’re about to learn the craft that makes it all possible.
What Is Leather Stamping?
Leather stamping is a technique where metal stamps or tools are struck with a mallet to press permanent designs into dampened leather. Craftsmen use specialized stamps featuring shapes, letters, or patterns, positioning them on the leather and hitting them firmly to create textured, decorative impressions without cutting or removing material.
That’s the short version. But leather stamping is a craft with layers, quite literally, and understanding it fully means digging into the tools, techniques, and tiny details that separate amateur attempts from professional-looking results.
Why Leather Stamping Has Stuck Around for Centuries
Leather stamping isn’t some trendy craft fad. It’s been used for generations to decorate saddles, wallets, holsters, and belts. The technique survives because it works: it’s durable, it’s customizable, and honestly, it just looks impressive.
Unlike printing or painting, stamped designs become part of the leather’s structure. The fibers compress permanently, meaning the pattern won’t fade, peel, or wash away over time. That permanence is a huge selling point for anyone making functional leather goods meant to last decades.
The Appeal for Modern Makers
There’s also something deeply satisfying about the process itself. Many hobbyists describe stamping as meditative, almost rhythmic. You wet the leather, position your tool, strike it, reposition, strike again. It’s repetitive in the best way.
- Creates one-of-a-kind, personalized items
- Adds resale value to handmade goods
- Requires minimal space and setup compared to other crafts
- Works on a huge range of projects, from tiny keychains to full saddles
The Essential Tools You’ll Actually Need
Getting started doesn’t require a massive investment, though it’s easy to go down a rabbit hole buying every stamp shape imaginable. Here’s what actually matters when you’re starting out.
Vegetable-Tanned Leather
This is non-negotiable. Vegetable-tanned leather holds moisture and impressions in a way that chrome-tanned leather simply can’t. If you try stamping on the wrong material, you’ll end up frustrated and wondering why nothing looks crisp.
Stamping Tools
These come in hundreds of shapes: basket weave patterns, floral designs, beveled edges, letter and number sets. Beginners usually start with a small set covering basic shapes before expanding into specialty stamps.
A Mallet or Maul
Not a regular hammer. Leatherworking mallets are designed with weighted heads (often nylon, rawhide, or wood) that distribute force evenly without damaging the stamp or your work surface.
A Solid Work Surface
Granite or marble slabs are popular because they’re hard, flat, and don’t absorb shock unevenly. Working on a wobbly table is a fast track to inconsistent, messy stamps.
Choosing the right combination of tools makes a bigger difference than most beginners realize. If you’re looking to streamline your setup and avoid unnecessary trial and error, this guide on tools to work faster breaks down how to build an efficient workspace without overcomplicating things.
How to Stamp Leather Step by Step
Once you’ve gathered your materials, the actual process is fairly straightforward. It just takes patience and a steady hand.
- Dampen the leather. Use a sponge or spray bottle to lightly wet the surface. This process is called “casing,” and it softens the fibers so they hold impressions cleanly.
- Position your design. Some crafters sketch guidelines directly onto the leather with a stylus or pencil before stamping.
- Hold the stamp firmly. Keep it perpendicular to the surface. Any tilt will result in an uneven, lopsided impression.
- Strike with confidence. One firm hit is usually better than several weak taps, which can cause blurring or doubled lines.
- Repeat and reposition. Move systematically across your pattern, checking your spacing as you go.
- Let it dry. Allow the leather to fully dry before adding dye, finish, or additional detailing.
It sounds simple written out like that, but the nuance comes with repetition. The angle of your wrist, the force of your strike, the moisture level of the leather, all of it affects the final result.
Common Mistakes Beginners Make
Almost everyone messes up their first few attempts. That’s normal. Here are the most frequent culprits behind disappointing results.
- Leather too dry: Stamps won’t leave a clear mark, and the surface may crack.
- Leather too wet: Impressions turn mushy and lose definition.
- Weak, hesitant strikes: Leads to shallow, unclear designs.
- Poor stamp alignment: Creates gaps or overlaps that throw off the whole pattern.
- Using the wrong mallet: Metal hammers can chip or damage stamping tools over time.
Choosing a Design That Matches Your Skill Level
Not every pattern is beginner-friendly, and that’s okay. Geometric stamps and simple border designs are far more forgiving than intricate floral carving, which often requires swivel knife work in addition to stamping.
Start small. A basic border pattern on a coaster or bookmark teaches spacing and pressure control without the pressure of ruining an expensive wallet blank. Once you’re comfortable, move into combination patterns that mix multiple stamp shapes together.
Popular Stamp Categories
- Geometric stamps: Diamonds, circles, and basket weave patterns
- Floral stamps: Leaves, petals, and vine-like designs
- Border stamps: Continuous edge patterns for framing a project
- Letter and number stamps: For monogramming or personalization
- Pictorial stamps: Animals, symbols, or custom shapes
Caring for Your Stamped Leather Piece
Once your design is complete, the leather needs proper finishing to protect the stamped detail long-term. Applying a leather conditioner or finish helps seal the fibers, prevents cracking, and enhances the contrast of the stamped pattern.
Avoid soaking finished pieces in water, since prolonged moisture exposure can distort even permanent stampings. Routine conditioning every few months keeps leather supple and preserves the sharpness of your design for years.
Final Thoughts
Leather stamping rewards patience more than natural talent. Every crafter who now produces stunning, professional-looking pieces started with wobbly lines and uneven pressure. The difference between a beginner and an expert usually comes down to hours logged, not raw skill.
Whether you’re stamping a simple monogram onto a wallet or attempting an elaborate floral border across a full belt, the fundamentals stay the same: proper leather, the right tools, careful moisture control, and confident, consistent strikes. Master those basics, and the creative possibilities become nearly endless.
Frequently Asked Questions
What type of leather works best for stamping?
Vegetable-tanned leather is the standard choice. It holds moisture well and retains crisp impressions, unlike chrome-tanned leather, which resists stamping altogether.
Do I need expensive tools to start leather stamping?
No. A basic starter set with a few stamps, a mallet, and a solid surface is enough to practice fundamentals before investing in specialty tools.
How wet should leather be before stamping?
The leather should feel cool and slightly damp to the touch, not soaking wet. This process, called casing, softens fibers just enough to hold clean impressions.
Can leather stamping be done without prior artistic skill?
Absolutely. Many patterns rely on repetition and spacing rather than freehand drawing ability, making the craft accessible to complete beginners.
How long does a stamped design last?
Since stamping compresses the leather fibers permanently, the design lasts as long as the leather itself, often decades with proper care and conditioning.