


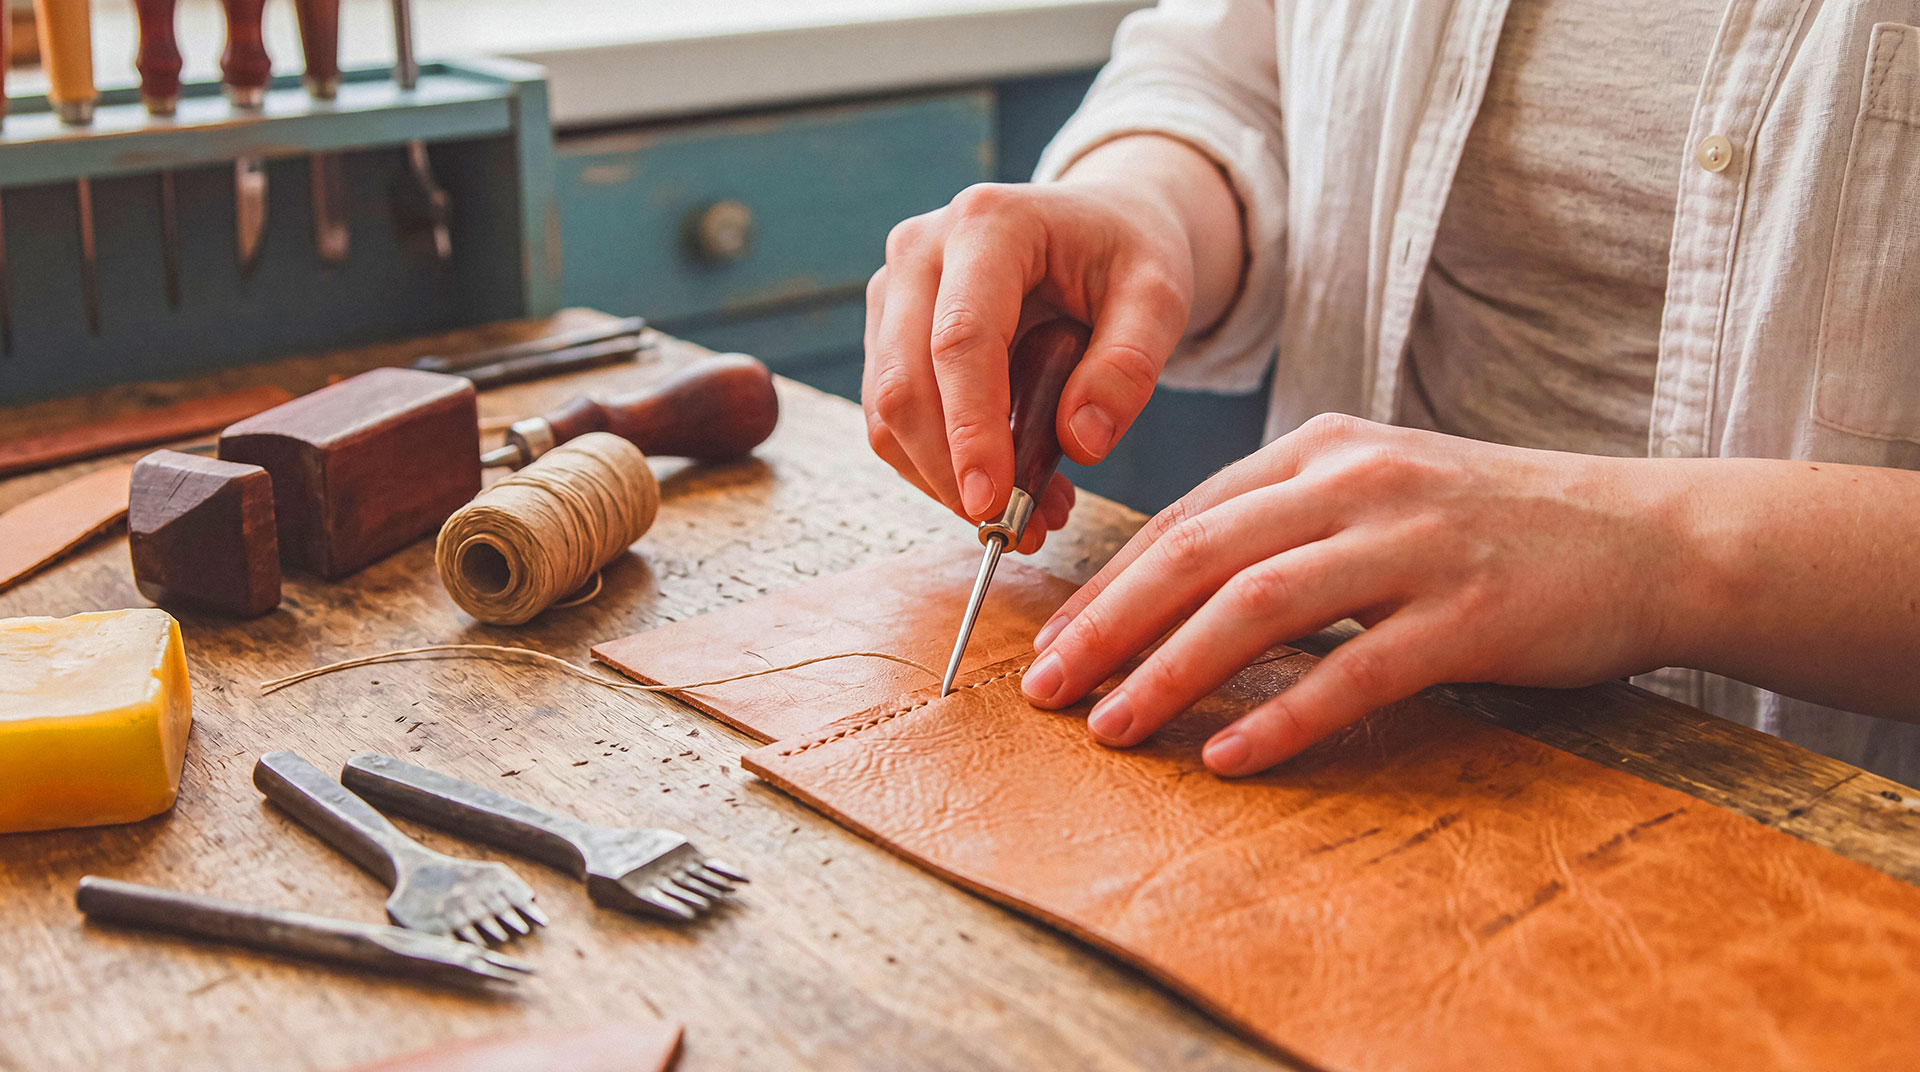
06 Jul Leather Tooling: The Craft That Turns Hide Into Heirloom Art
There’s something almost meditative about pressing a swivel knife into a piece of vegetable-tanned leather and watching a design come to life. Leather tooling is one of those crafts that looks intimidating from the outside but becomes strangely addictive once you get your hands on the tools. Whether you’re eyeing a custom wallet, a tooled belt, or a full leather portfolio, this craft rewards patience with genuinely stunning results.
So what exactly is leather tooling, and how do you get started without wasting money on the wrong supplies?
What Is Leather Tooling?
Leather tooling is the process of decorating vegetable-tanned leather by carving, stamping, and shaping its surface while it’s damp. Using tools like swivel knives, stamps, and mallets, artisans create raised or recessed designs. It’s used on wallets, belts, bags, and holsters to add texture, depth, and personalized artistry.
Why Leather Tooling Has Such Staying Power
Machines can stitch leather, cut leather, and even emboss patterns onto it in seconds. But tooling is still done almost entirely by hand, and that’s exactly why people love it. Every swirl, every basketweave pattern, every floral stamp carries a bit of the maker’s personality in it.
Unlike painted or printed designs, tooled leather changes over time. The leather darkens, the edges soften, and the design becomes part of the material itself rather than sitting on top of it. That’s a level of durability and character mass production simply cannot replicate.
The Core Materials You Actually Need
Before diving into fancy stamps or intricate carving patterns, you need the right foundation. Most beginners waste money buying decorative tools before they even have the essentials sorted out.
- Vegetable-tanned leather: this is non-negotiable, since it’s the only type that holds tooled impressions well
- Swivel knife: used to cut the outlines of your design
- Stamping tools: for texture, shading, and background patterns
- Mallet or maul: to strike the stamps with consistent force
- Cutting mat and workbench: a solid, non-slip surface matters more than people expect
If you’re still assembling your kit, it’s worth reviewing a full breakdown of the essential leather making tools that every crafter should have on hand before starting a tooling project. Skipping this step often leads to frustration halfway through a design.
Getting the Leather Ready: Casing Explained
You can’t tool dry leather. It simply won’t hold an impression, and your swivel knife will just slide off the surface. This is where “casing” comes in.
Casing means dampening the leather with water so it becomes soft and receptive to tooling, then letting it rest so the moisture distributes evenly throughout the fibers. Too wet, and your lines will blur. Too dry, and the leather resists the tool entirely.
A Simple Casing Method for Beginners
- Wet the leather evenly using a sponge or spray bottle
- Let it sit for 15 to 30 minutes, depending on thickness
- Check readiness by pressing your fingernail into the surface. It should leave a light mark that slowly fades
- Begin tooling once the color has returned to a medium, even tone
Basic Techniques Every Beginner Should Practice
Before attempting an elaborate floral scene or a detailed portrait, spend real time on the fundamentals. Rushing this stage is where most beginners get discouraged.
Cutting with the Swivel Knife
Hold the knife almost vertically and let your whole hand guide it, not just your fingers. Practice smooth, flowing curves on scrap leather until the motion feels natural rather than forced.
Backgrounding and Shading
Backgrounding tools push down the areas around your design, making the main image appear raised and three-dimensional. This single technique instantly makes tooled leather look more professional.
Basketweave and Geometric Stamps
These patterns are forgiving for beginners because consistency matters more than artistic precision. They’re a great confidence booster before moving into freehand carving.
Common Mistakes That Ruin a Tooling Project
Even experienced hobbyists slip up occasionally. Watching for these issues early can save an entire piece of leather.
- Over-wetting the leather, which causes mushy, undefined lines
- Inconsistent mallet strikes, leading to uneven stamp depth
- Using low-quality tools that slip or dull quickly
- Skipping practice pieces and jumping straight to a final project
- Ignoring grain direction, which affects how designs stretch and settle
Finishing Your Tooled Leather
Once your design is complete, the leather needs to dry fully before any finishing products are applied. Rushing this stage can trap moisture and cause mold or discoloration later.
After drying, most crafters apply a leather dye or antique stain to highlight the recessed areas of the design, followed by a sealant like resolene or a wax-based topcoat. This step protects your work and gives it that rich, professional sheen seen in high-end leather goods.
Tips to Improve Faster as a Leather Tooler
Progress in this craft comes from repetition, not shortcuts. A few habits separate slow learners from fast improvers:
- Keep a dedicated scrap leather stack purely for practicing new stamps
- Study grain flow before starting any curved design
- Sharpen your swivel knife regularly, since dull blades cause dragging
- Photograph your work weekly to track visible improvement
- Join online tooling communities for feedback and pattern inspiration
Frequently Asked Questions
Do I need expensive tools to start leather tooling?
No. A basic swivel knife, a few stamps, and a mallet are enough to begin. You can expand your toolkit gradually as your skills and interest grow.
What type of leather is best for tooling?
Vegetable-tanned leather is the industry standard because it holds moisture and impressions well, unlike chrome-tanned leather, which resists tooling almost entirely.
How long does it take to learn leather tooling?
Basic cutting and stamping skills can be learned within a few weeks of regular practice. Mastering detailed carving and shading, however, can take months or even years of consistent work.
Can leather tooling be done on thin leather?
It’s difficult. Thin leather doesn’t hold impressions well and tends to tear under stamping pressure. Most tooling projects use leather that’s at least 7 to 9 ounces thick.
Is leather tooling the same as leather carving?
They’re closely related but not identical. Carving typically refers to cutting detailed designs with a swivel knife, while tooling is the broader term covering stamping, shading, and texturing as well.
Final Thoughts
Leather tooling rewards patience, steady hands, and a willingness to mess up a few practice pieces before things click. Once the basics of casing, cutting, and stamping start feeling natural, the craft opens up into something genuinely creative and personal. Start small, invest in quality basics, and let your skills build one stamped line at a time.